Picture Perfect!
Hi there today I'm bringing you a simple project I enjoyed making. I decided to make some small picture frames, going for something simple and easy. Believe me most of my projects start with the same idea of making them simple and easy, and most of the time, I end up with a lot more products and go with a different approach so I end up with a totally different project than what I had in mind, but with happy endings.
This time I had an idea on what I wanted to make and made sure to stay on track and loved what resulted at the end.
Materials:
Rowlux film in several colors
Prima brads
Viva Decor glitter pens
Photos
Key rings
Recycled t-shirt strips for hanging
Tools:
Quick Snippers cutting tool
Hole punch
I like to cut freehand most of what I do, unless it calls for exact measurements. I wanted to make some small picture frames using two parts for each frame. Quick Snippers has five different decorative shape scissors and one straight edge and they cut Rowlux film really easy.
 |
| the two brads were used on the top and bottom of the white rectangular frame - holding both pieces together |
 |
| You can see the brads used the same way on this frame, square and oval shape frames |
 |
| white and yellow frames, white stone brads used to hold together both frames, white and yellow. |
- Take two different colors of Rowlux, cut two different shapes in two different sizes for each frame
- Decide how each frame will look once completed
- Hole punch two tiny holes on the two parts of the frame where the brads will go
- Cut your photos to size and slide in between the two parts of the frame
- Add some glitter to the edges of the outer frame sparingly
- Punch the top of the frame to add your choice of hanger (key rings)
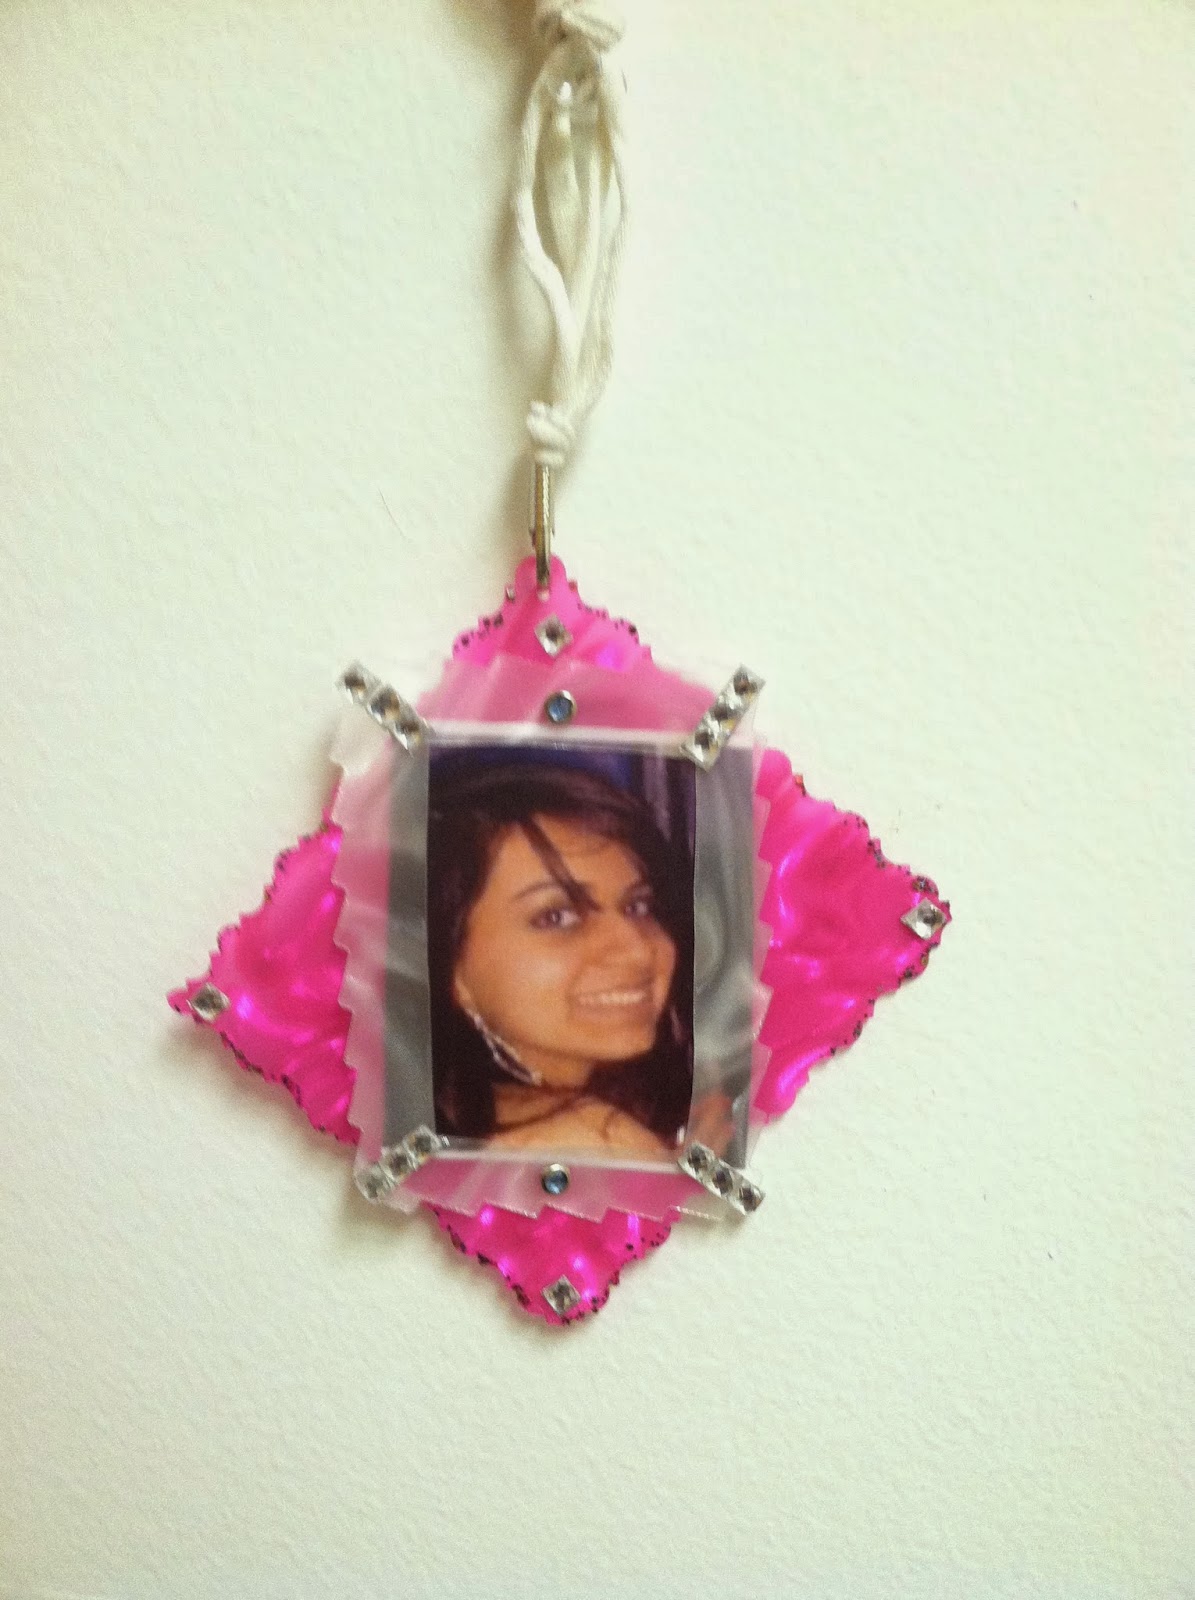
- Decorate with some embellishments, I chose some adhesive bling I had on hand
- Add the recycled t-shirt strips to the key rings and knot to size, photos are ready to hang
These are very simple, you can customise any way you want, the glitter on the edges makes the cut designs pop, these can be hung separately or as a group, you can use some fancy ribbons or cords to hang, I went with simple, but the fun part is they are easy to cut, and you can decorate any way you want, also if you cut the photos to fit by just sliding in between you don't have to remove the brads to change photos, but you can if you chose to.
I will be making some more of these, in different colors, I need a few for my sons - I love easy and fast projects and this happens to be one of them.
I hope to have inspired you to get creative and find a few minutes to be creative.


Comments
Post a Comment