Happy Monday! to all. Today I want to share a fun recycled project that can be used for any season. I love to include recycled materials as much as possible in my crafty projects, today I use an empty Starbucks coffee glass container, I love drinking these a lot, so I do have many on hand and many that have been recycled already.
Today's project is very simple, pretty and easy to change it's look. The main crafting products I'm using today are from Etchall, I love how easy their products are and not only that but you get to recycle their etching creams and now you get to use their new stencils over and over again, yes they have some new fun stencils that are re-usable, these are called ETCHNET™ Re-usable Stencils they currently have two Halloween sets on sale, so I suggest you go check them out.
I loved the idea of been able to use these stencils over and over again, they are not sticky, there's no glue on them, they are so easy to use. I simply used masking tape to pull the ends of the stencil together very tight. then I added more masking tape to make sure no etching cream would accidentally spread out to the other areas of the glass bottle, it is important to protect the areas you don't want etched.
As you can see below, I share photos of how I used this Etchnet re-usable stencil of the letter M that has some tiny cute mushrooms.
 |
| Taped the ends of the stencil together to secure it and make sure is not loose |
 |
| Taped all around the stencil image with masking tape to prevent any etching cream to accidentally end up on other areas of the glass bottle |
 |
| Here is my stencil ready for the etching cream |
Once I had the stencil taped on the glass bottle, You have two options to apply the etching cream over your stencil, you can either use their etchall® Designer Tip or their etchall® squeegee, you can check their website to read more about these tools. I decided to use the designer tip, I felt it was perfect for applying the etching cream to the areas to be etched. Now when you use the designer tip, you don't really get to recycle the cream, I figured since it was a small stencil, it would be fine, had I used a bigger stencil I would have gone with the squeegee and recycle the cream. You really don't want to waste this product.
Once you apply the etching cream, you wait for 15 minutes, you could work on another piece while you wait for this one to etch. Once the time is up, you simply wash the etching cream off with warm water, make sure to read the directions on how to rinse the etching cream safely if you have a ceramic sink. Once you rinsed off the etching cream, you can remove your tape and stencil. Rinse your stencil, dry it and it's ready to be used again.
 |
| Etching cream applied with the designer tip |
 |
| Etching cream rinsed off and the stencil removed |
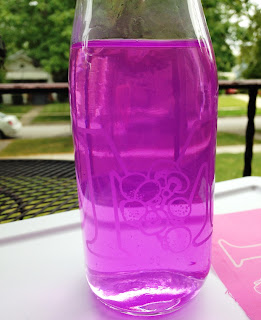 |
| I added water with a few drops of alcohol ink to make it easier to see the etched design |
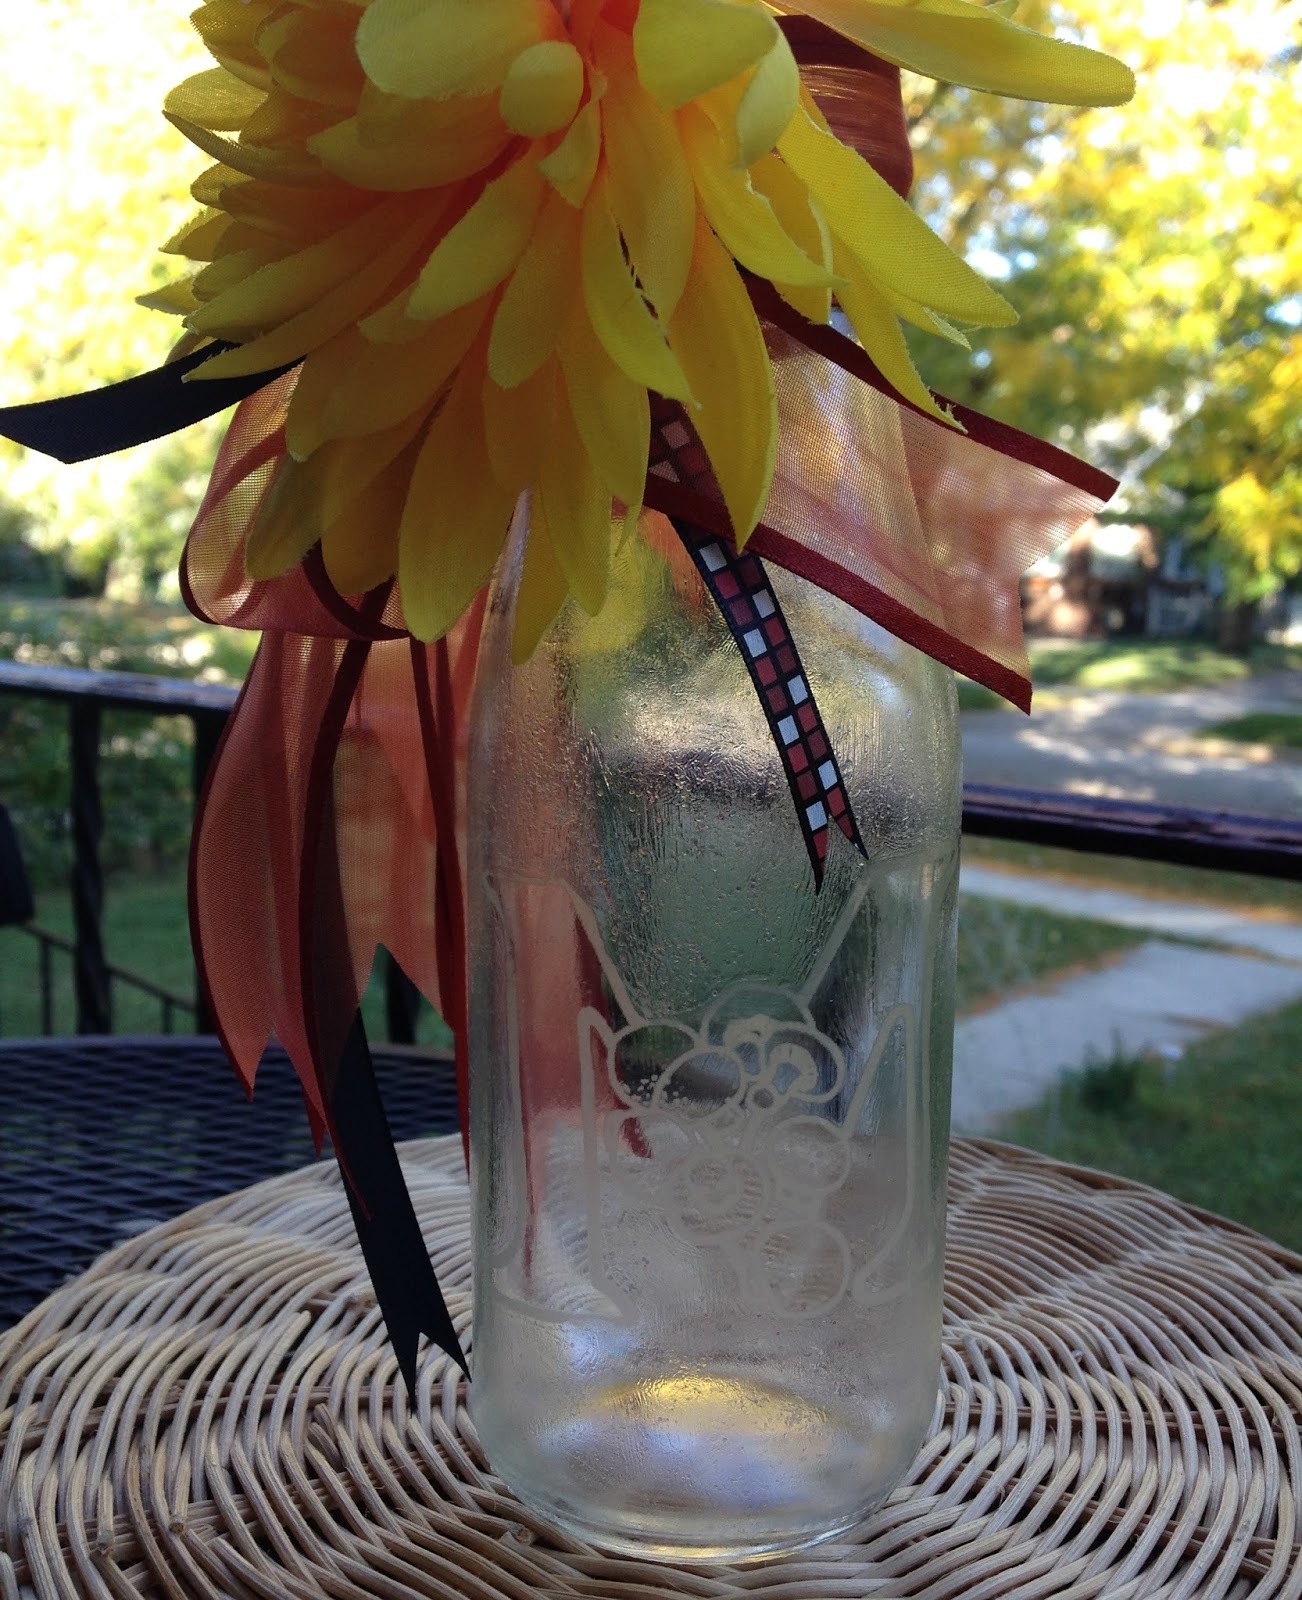
Now that my glass jar was etched, I had to think for a bit what I wanted to do, so I took some glittered Mod Podge by Plaid and brushed it all over the glass bottle around the etched design. Since I wanted this to be a Fall decoration, I took some ribbons and wrapped them around the top of the bottle leaving some long tails, then adding a nice big bright yellow artificial flower. Now I can change the ribbons and flower for Christmas, Easter, or any other Holiday, so this can sit on my desk at he office and look different by simply making these two changes.
 |
| Finished project |
I could easily add some water and fresh flowers too and use it as a pretty vase, this turned out to be an easy, fun and creative recycled project.
I hope I have inspired to recycle and to try these fun products to change the look of an ordinary glass bottle and give it a new face, a new use, and keep it from ending up in the recycling box.


Comments
Post a Comment