Hi there, today I want to share with you what I made last night for my son. My youngest son is going to art school and they are having a Halloween party at school today, they announced that there would be a costume contest. Now my son had already planned on dressing up; he has all these other costumes that he purchased over the last couple of years, and well when he heard they were having a contest he decided that he would go as "Wendigo Mike" from "Until Dawn"which I believe is a PS4 video game he loves to play.
Earlier this week, he showed both his sister and I a video of how to do the make up and what kind of teeth he would need, now my daughter pulled of the make up part very well, me on the other hand didn't think I could make the teeth that he wanted only because he asked me this Tuesday if I could make then, and the party is today, I suggested a visit to the costume store was needed, so he did, he went and the only teeth he could find were vampire teeth, so last night he showed them to me and asked me if I could make them "creepy looking".
 |
| These are the vampire teeth my son purchased at the costume store |
I sat for a while trying to think what and how I could change these teeth, well all I could think of doing was making a mold to change the shape of the vampire teeth, then use resin to make the new teeth. I looked around for a glue I could use to adhere the new teeth, when it hit me, I don't need glue, the resin will be the glue.
To make the mold, I used
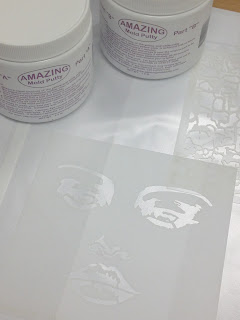
Amazing Mold Putty (to find out how to use this product click on the link) and once it was mixed, I placed the vampire teeth onto the putty as you can see on the photo below. Normally when I make molds I leave the item I'm molding sit in the putty for about 10 to 15 minutes so the mold can set, in this case I needed to change the look of the teeth, so I had to remove the teeth right away and I used the end of a popsicle stick to change the look of the teeth, I had to move fast because this product sets pretty fast, you can see on the photo below how the mold came out, the stick helped make indentations on the teeth which is what I wanted, this monster can't have nice teeth, they have to look creepy!
 |
| Here you can see the two part Amazing Mold Putty, ready to be mixed and the teeth and stick all ready for mold making/shaping |
 |
| Here you have the first step, I placed the teeth on the mixed putty, time to remove the teeth so I can shape the new ones on the putty |
 |
| Here you can see how I used the stick to shape the new teeth, they had to be longer and oddly shaped |
Now that I had the mold, it was time to get the resin, I chose to use the
Amazing Casting Resin (to find out how to use this product click on the link) for this project because it only takes about 15 minutes to set, and I needed the teeth to be done right away since he needed to use them today.
After mixing the resin, I have very little time to work with so I added the mixed resin to the mold, waited a little bit then placed the original teeth back into the mold over the resin, I had to hold this mold with my hands because I needed to make sure all the teeth got covered with resin, it took about 15 minutes for the resin to harden enough for me to let go of the mold. I left it alone a bit longer just to make sure the resin was hard enough and to ensure it would be glued onto the original teeth, see this resin can be used as a glue before it sets and it will be permanently fixed to the original teeth.
 |
Here you can see the resin curing on the mold, and the vampire teeth placed over the resin, waiting for it to harden enough so I can remove it from the mold.
|
This product sets really fast, and it remains soft for a while, which allowed me to remove all the excess resin, I didn't need resin on the gum area so I removed it all, then I trimmed around the teeth, and with the x-acto
knife I cut and shaped the teeth, I really loved how this project turned out, below you can see photos of the resin teeth before and after they were trimmed.
 |
| Here you have the new creepy Wendigo teeth, you can see the original teeth and then the resin that was added, now it's time to remove all the excess resin and trim and shape the teeth before the resin hardens all the way |
 |
| Here you can see the mold, the new Wendigo teeth, and the excess resin that was removed using the X-acto knife (please be careful when using sharp tools) |
Now all we needed was to paint them. I looked around for some non-toxic paints I could use that would stay on the resin and not come off. I ended up using two markers to give color to the new resin creepy teeth, first I colored them with the cherry color marker, then with the black, I used my fingers to spread the paint around, once they were done, they were ready to go. Below you can see photos of
the fully transformed Vampire Teeth into Wendigo Teeth. You can see the front and back of the teeth, the back shows you all the resin that was added thanks to these amazing products.
 |
| Here are the finished Wendigo Teeth, he was so happy with the way they turned out. |
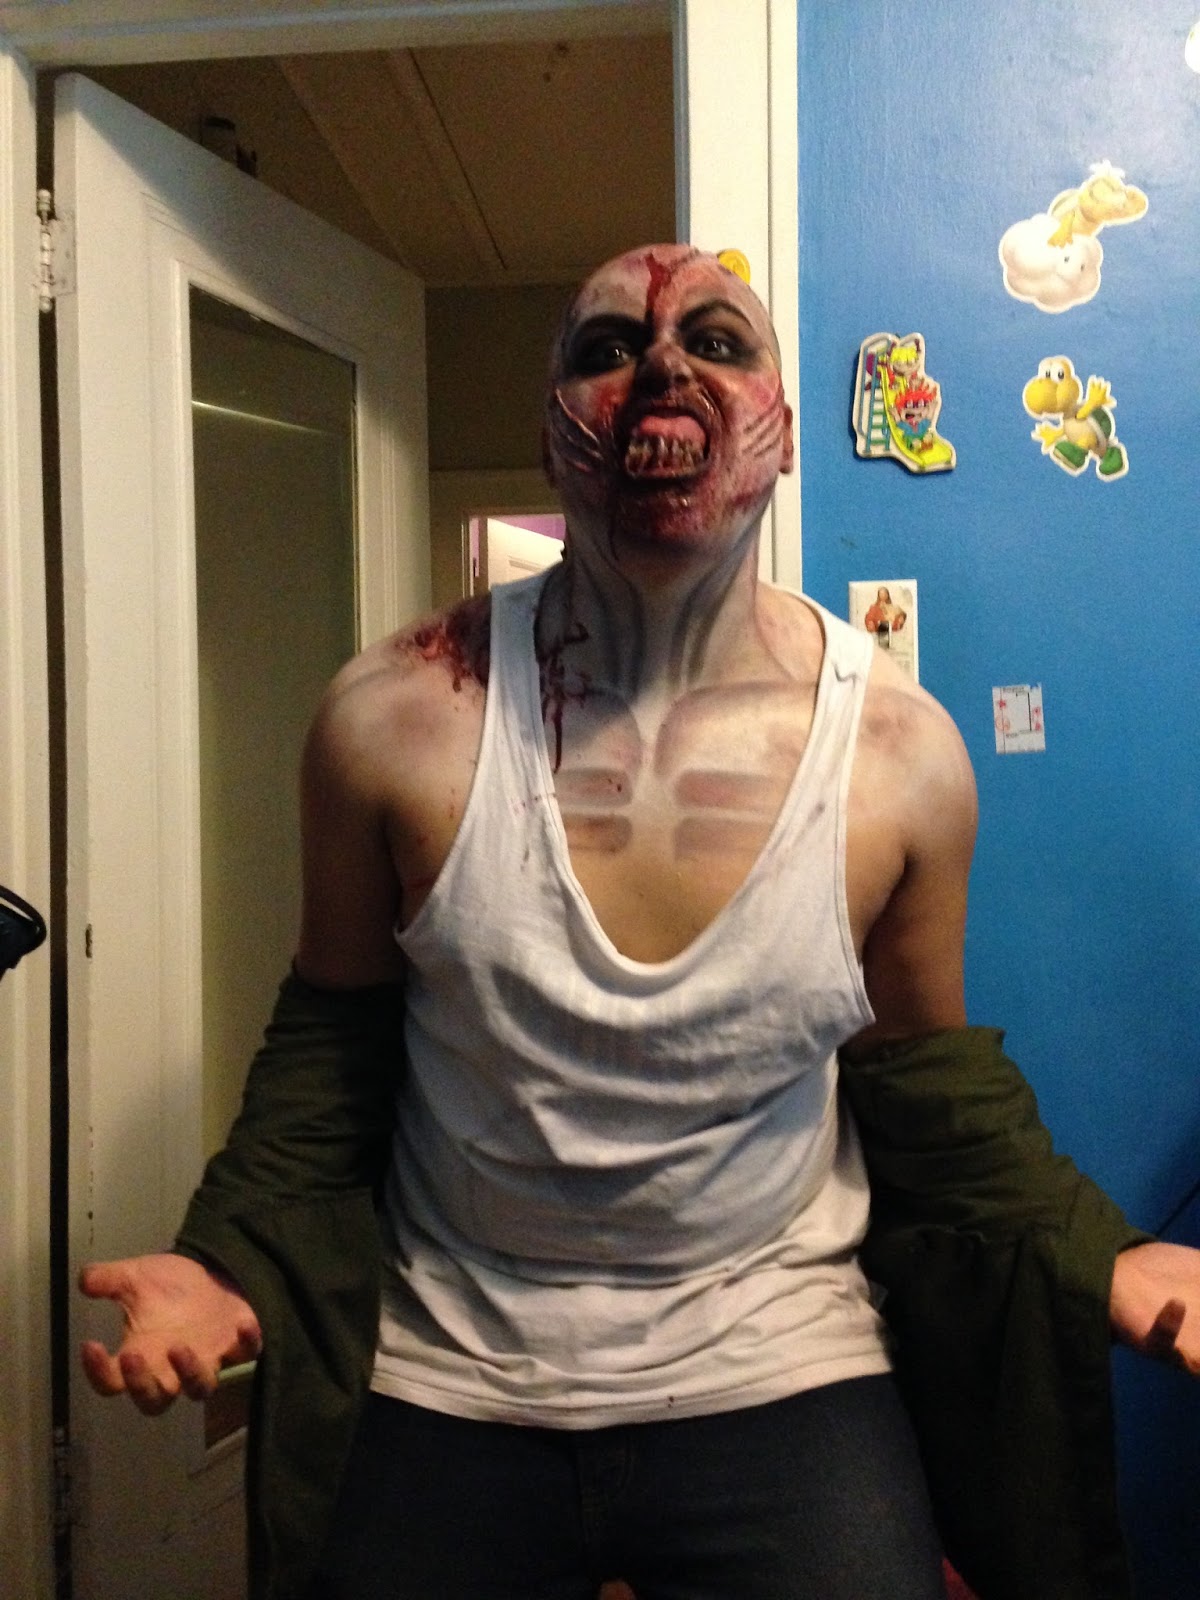
This morning my daughter and son got up at 6am, and my daughter began to do the special latex make up, she did an amazing job. He got dressed and off we went, I can't wait to hear about his day at school. This is the first time he dresses up this way, usually he wears costumes that come with masks, he was very excited about the make up and the teeth. I was very happy to had been able to help him out, I love how these products work, it amazes me how I've been able to use them in so many ways, this was for sure the most fun I've had working with these amazing products.
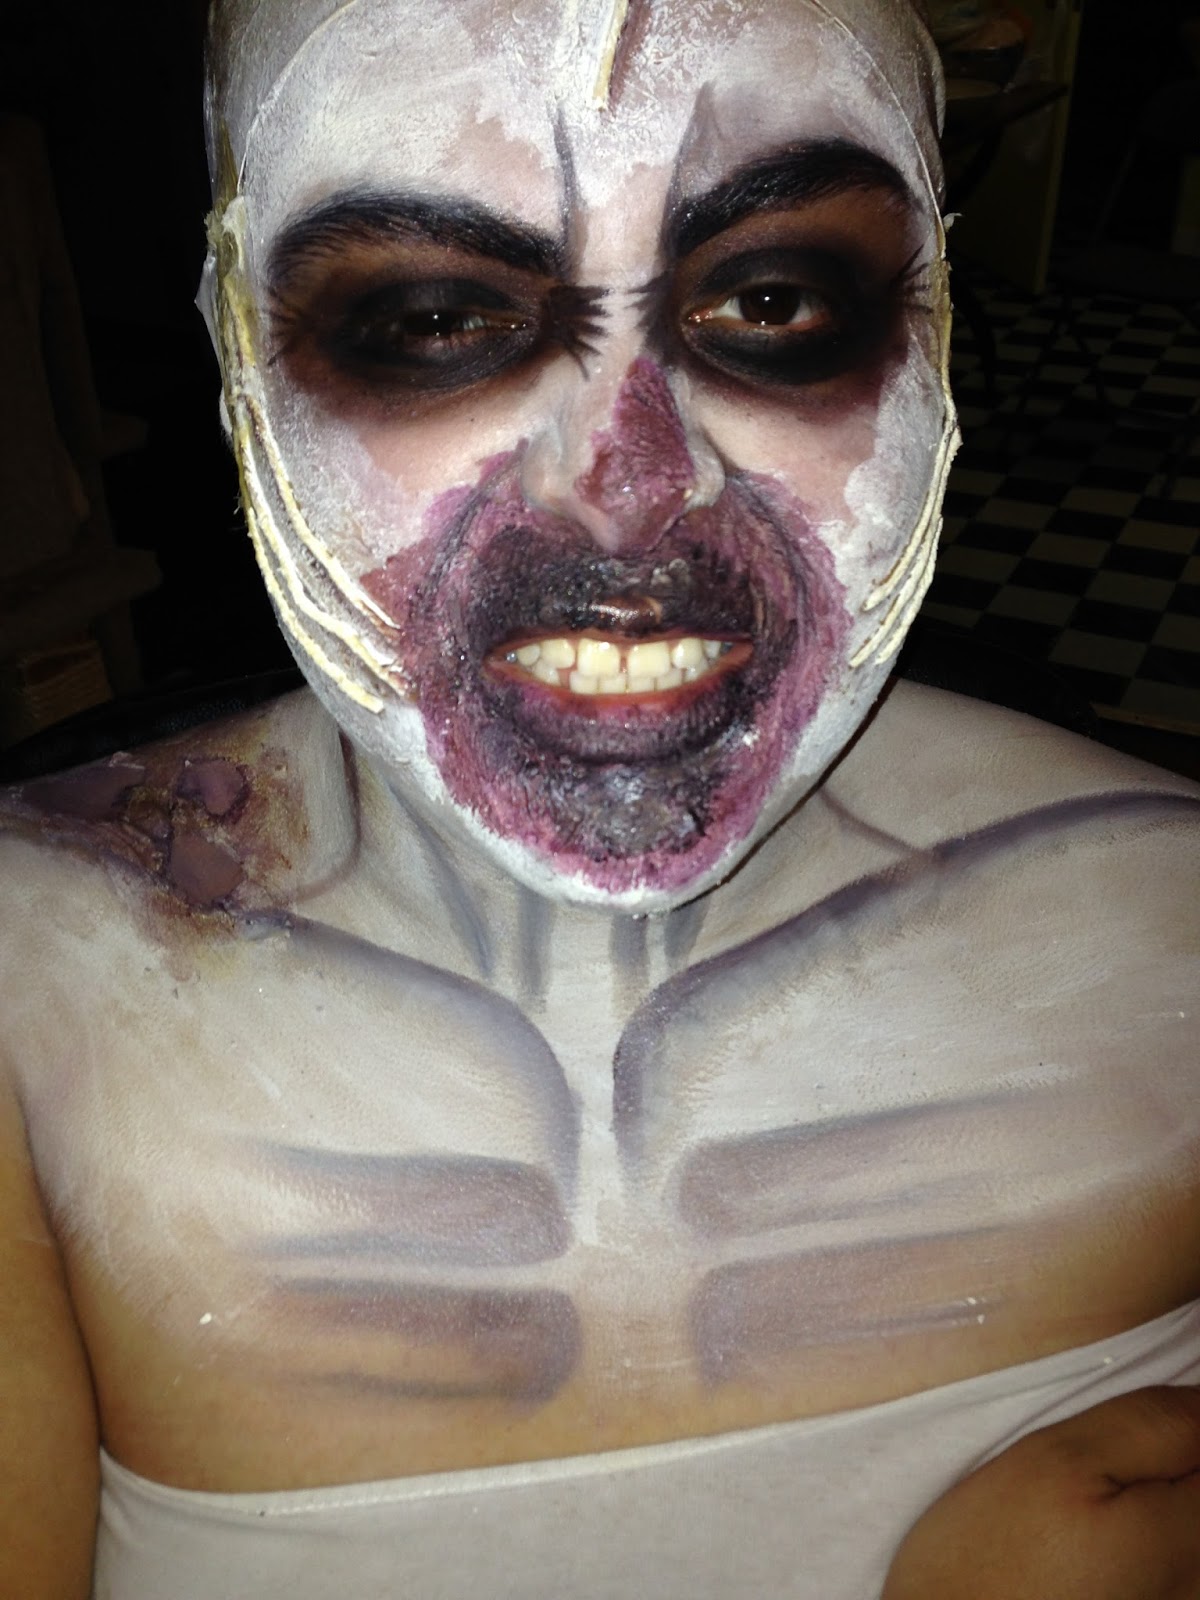
I'm going to share here the entire transformation, my part was the easy one, my daughter spent about three hours this morning doing all the amazing make-up to transform my son into a "Wendigo".
 |
| Nicole busy adding all the details |
 |
| He had no idea how this was coming along |
 |
| All done with the Make-up now time to get dressed and get them teeth in place |
Below are photos of the entire transformation -
I hope you enjoyed this fun and creepy tutorial, these products never stop surprising me, this was the most fun I've had, I'm so exited about this transformation that I can't wait for the next idea. If you have not tried these products, I really suggest you give them a try.


Comments
Post a Comment