A Spooktacular Halloween Coffin!!!
.JPG)
I thought it would be nice to make a post showing how I made this coffin, to show how I embellished the coffin since I didn't really make the actual coffin. When I joined a coffin swap in an FB group, well I was getting ready to just use paper and paints, but then I thought why not do something totally different - so I used Amazing Casting Resin. Well after I made that coffin, I went ahead and moved on to make this one too. By the time I finished this coffin, I had a hard time deciding which one would go to the coffin swap and which one I would keep, hard to decide, but figure it was only right to give away the first one and keep the second.
 | ||
| Amazing Cast Resin and Alumilite Bronze Metallic Powder (silver & gold not pictured) |

Now normally I would have base coated the entire coffin in black, and then play around with white, red, brown, gold, silver, copper to age the coffin, instead I went for the Amazing Casting Resin and the Alumilite metallic powders in different colors to base coat the coffin all over the outside. Below are three photos of what the coffin looked like after I covered it with the Amazing Cast Resin, metallic powders in bronze and silver and gold. After a couple of pours I waited for the resin to be completely set, what I love about this resin is that it sets in about 10 minutes depending on the temperature of the area you are working at, so even after a few layers it probably took me less than 30 minutes to finish the outside of the coffin. Once the resin wad dried, I started to play by adding red acrylic paint, it colors the resin really good and I used the wipe off and on method, not too much or too little the object was to give it a distressed look.


Below, the photos show the finished coffin, after adding some Plaid's black acrylic paint, and some other embellishments. these are the sides and a close up of the bottom on the front, to show the Red Distress Glitter I used on the resin while it was still sticky enough to use it as glue to adhere the glitter.
.JPG)
.JPG)
.JPG)

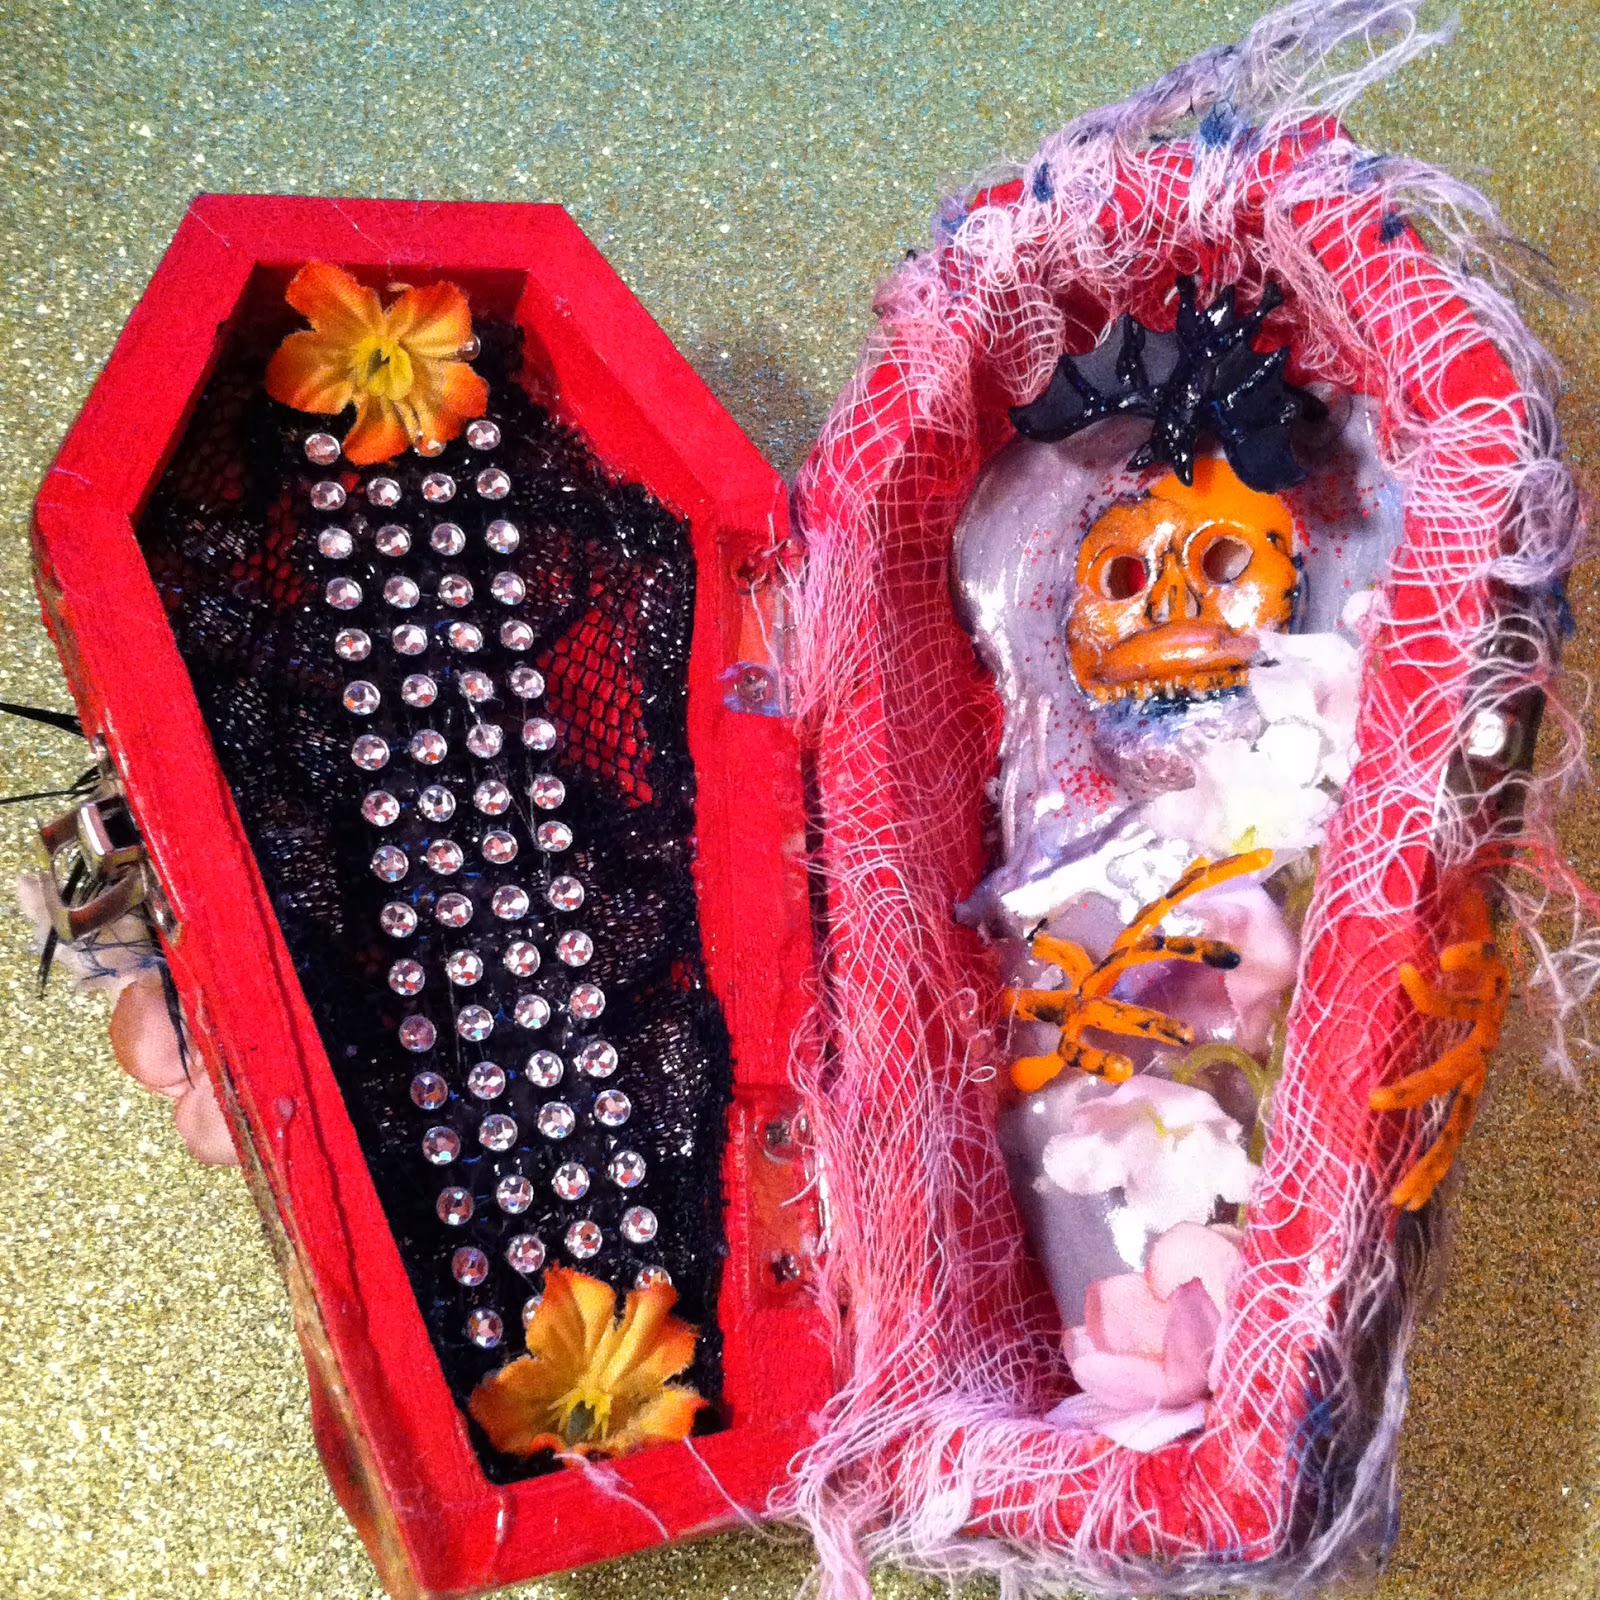

I really had fun playing around with all these products. This is the type of crafting I love to do, it feels like fun, to come up with something as you imagined once you got started, all I knew is I had to use a skeleton inside. There is nothing like making time to be creative, to have fun and love your final piece. I encourage you to find a few minutes, a couple of hours here and there to be creative, it feels great when you are done.
Materials used:
Wood coffin (from Michaels Craft Store)
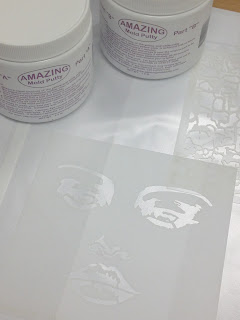
Amazing Mold Putty
Amazing Casting Resin
Alumilite Metallic Powders - bronze, gold, silver
Crystal rhinestone ribbon -black (from Michaels Craft Store)
Plaid's acrylic paints - red and black
Tim Holtz distress glitter in red
Black feather
Flowers
Creepy cloth (Dollar Tree Store)
Bag of creepy creatures (Dollar Tree Store)
Glitter liner Haematite #801 (Viva Decor)
Empty make-up box to mold resin frame


Comments
Post a Comment