#Cre8time #Halloween with #Etchall - A Spooky Pumpkin Patch!

Hi there, I want to share a project I made for Halloween. This is going to be a gift for a dear friend that just loves this Holiday.
I love to paint, and painting on glass, is not that easy to do, I know there are many types of glass paints but I love etching glass first and then adding paint to the etched areas. So today my project is about etching and painting on glass.
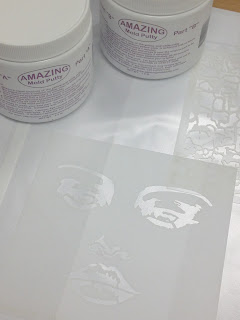
I used a product called etchall etching cream along with their etchall designer tip kit. Etching with etchall® creates a smooth etched surface knows as "tooth", the texture you need to paint using oils, inks, acrylics and even rubber stamp and emboss on either glass, mirror, tile, ceramic, porcelain, marble and even slate.
I used the designer tip kit for this project because I wanted to hand draw my image instead of using a stencil or a vinyl cut image. I knew I wanted to draw a tree and some pumpkins, just not sure how to place it so I went on-line for inspiration and this is the photo I found, it showed just what I wanted to do. I replaced the bats with a full moon.
The glass vase I found at a yard sale, is very heavy and thick glass, and it has a nice oval shape. It made a perfect piece to create this spooky image, my daughter suggested to use both the front and the back of the glass, and that gave me the idea to show the pumpkins on the front and the tree and the moon on the back.

The Designer tip came with two bottles and different size tips, I used one of the bigger tips, for I knew I wanted to free hand paint the tree and the moon, this was so much fun for me, I do love to draw and paint and that's what it felt like when I added the etching creme to the glass.

Here is the front of the vase, the pictures of the pumpkins was placed on the inside of the vase so I could follow the shapes with the designer tips, I know these would have been easy to do by hand, but I wanted them to fit and the photo was the perfect size, it was just easier to follow the picture. Once again I left the cream alone for 15 minutes, then I simply rinsed it off under running water.

Now here are some photos showing the etched designs, I thought about it for a while to just leave it alone, but I just had to add color and bring the images to life.
This photo shows the front and back images


I thought adding some colored lights inside would make it fun, but at the end I just had to paint this piece. So I gathered some Americana chalky glass paints, some acrylic paints, water, some paint brushes and a recycled container to add my paints.


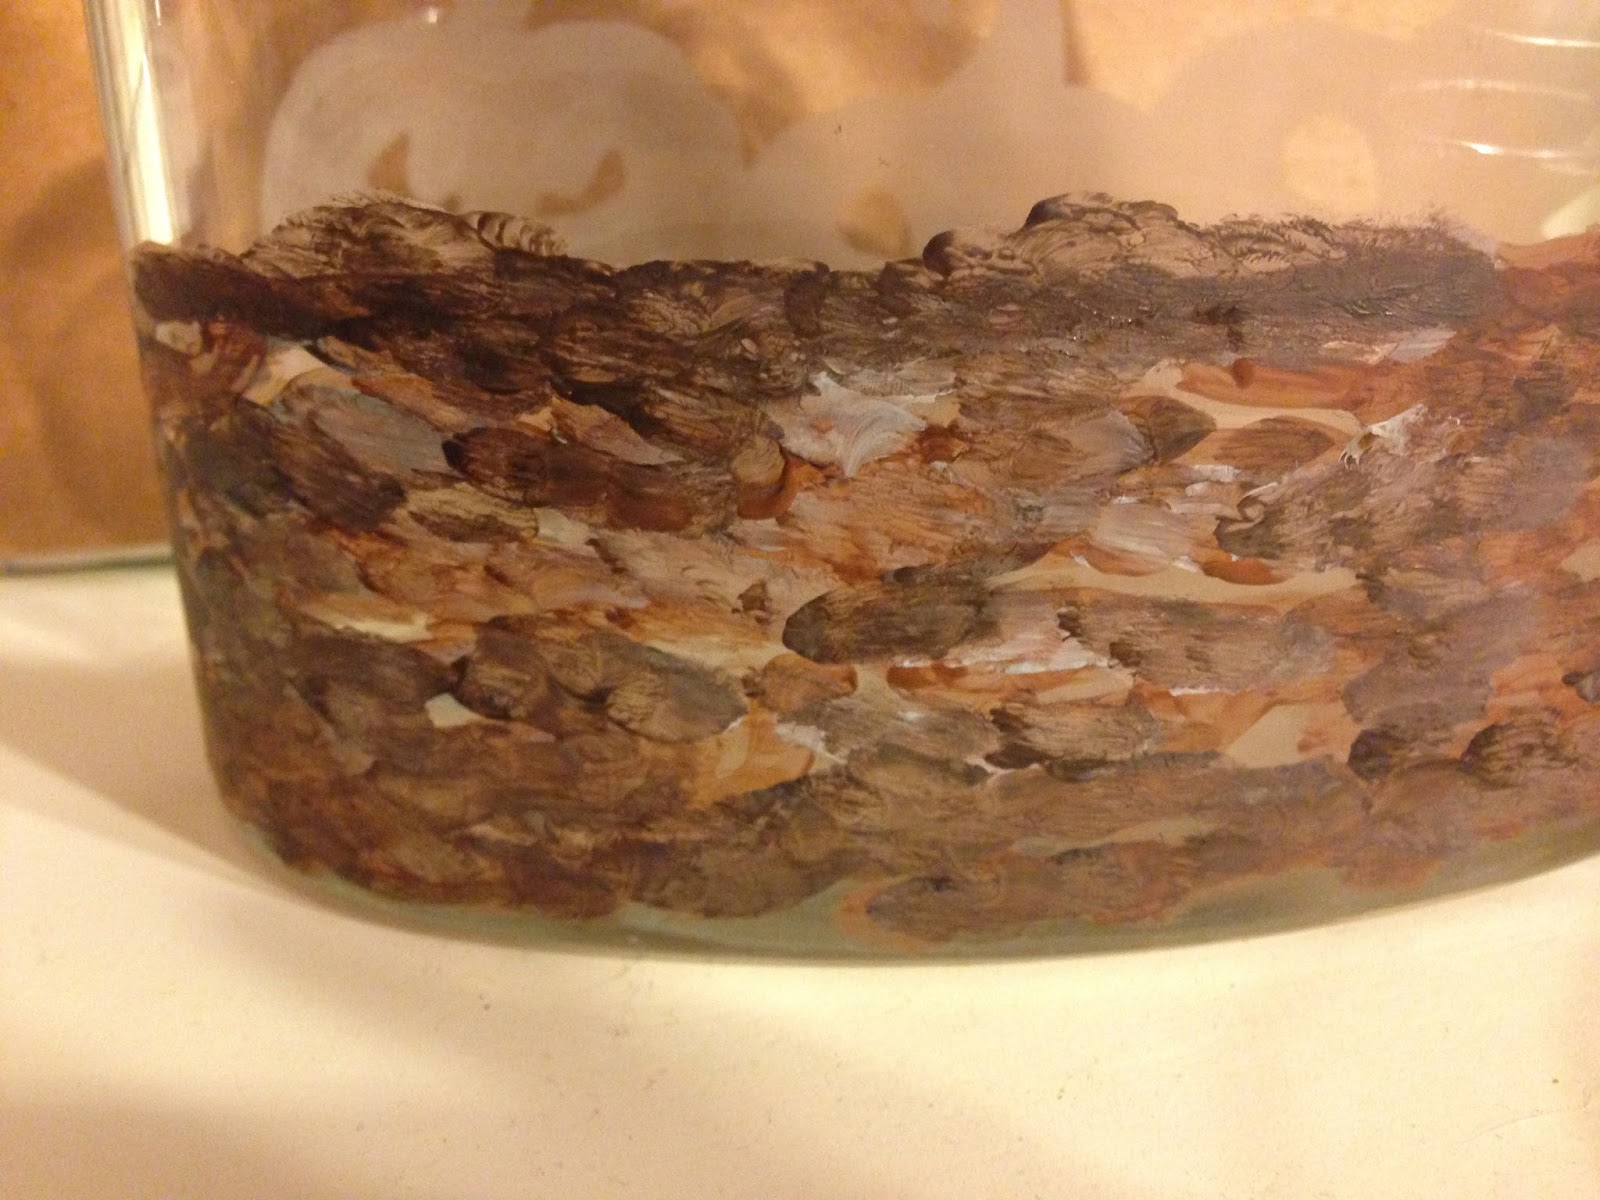
Now the painting starts, here you can see how I started to add the different colors to the spooky tree, loved how easy it was to paint on the etched areas, the paint did what I wanted.


Here you can see the finished back, at least for now, I knew I had to add more color, so I went to work on the front of the glass.

Here are the pumpkins, all painted, added some color around the bottom (ground) and on top (sky).

My favorite pumpkin is the angry looking one.

I liked the blue color on top of the pumpkins that was meant to represent the sky, so I decided to add a back ground color on the tree. Below are pictures showing the finished piece. I loved the blue and purple color added to represent the sky. I think it would have been fun to etched the entire back of the glass, but I sure had fun painting on the etched areas, the paint took so easy and the effects of the paint on the etched areas is perfect for me. I don't like to see strokes of paint on glass, so for me etching is a great way to paint on glass the way you do on paper or canvas.


Here is the finished front.


Comments
Post a Comment