DIY Spring Lamp

The weather around us here in Indiana has been a bit crazy lately. With Spring finally here we expected to get a bit of warm weather and along with the showers we were hoping to see pretty flowers blooming and the grass getting green and but instead it's been pretty cold, with snow coming down on April. However we can't wait to see lots of pretty flowers everywhere soon and enjoy the outdoors a bit more.
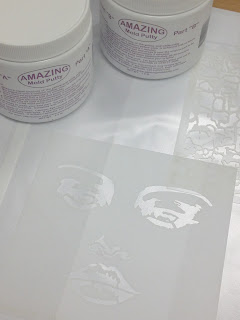
I received a pretty etchall® lighten-up Kit that includes; one self-illuminating lampshade, one plastic sleeve, one template and instruction guide, it does require 3 AA batteries (not included).
I needed a base for this pretty lamp shade so I went looking in my box of glass containers and in the recycling bin, and well it turned out that my bottle was in the refrigerator, I had this energy drink I got from Vegan Cuts, that was the perfect size for this project. I don't like energy drinks but this was a healthy and vegan option that I really enjoyed drinking. I love to use recycled items in my crafting so this was double the fun for me.
Now the kit includes a template in case you want to use fabric, or paper to create a cover for the shade, however I loved how transparent the shade was, so I decided it would be more fun to just paint over the shade and keep the template in case I want to change the look of the shade later on.
I knew that since I was missing the beautiful spring flowers, that this project would be all about "spring flowers".
To start I applied one light coat of white acrylic paint to completely paint the entire shade, then I used Martha Stewart's craft glass paint in a light green to add grass to the bottom part of the shade, using a stencil I added a few flowers around the shade. You can use any type of paints on this shade, I thought using glass paints on the shade would allow for the light to come through all the painted areas.
On the photos below you can see how I transformed the shade into a pretty garden filled with colorful flowers.


Here you have the finished lamp shade, I decided to color the removable top of the shade in white and blue, to represent a bright and beautiful spring time sky. I had to add some flowers to the top of the shade, so I used hot glue to add some Prima flowers and a bit of white tulle in the center, now my shade is done and it's time to get started on it's base.

 |
| Here is the shade all lighted up |
Now, lets get some etching done, after I finished my energy drink, I washed the bottle, removed the label, which I have to admit came off really easy, I used a disinfecting wipe to remove the glue left on the glass bottle from the label, washed it again, dried it and my bottle was ready for an etched make-over.


As I was working on my shade, I had an idea for the base, I thought it would look nice if I etched trees on the base, but without the branches and the leaves. I figured the best way to make this work was to use etchall® etchmask so I took out my Westcott paper trimmer and cut a lot of strips from the etchmask, as you can see on the photos below, these were in different sizes.


At first I thought I would use the etching cream, but realized that the best product for this project was etchall® dip'n etch liquid, I looked around for a container that could hold the glass bottle and the empty Lysol wipe container was a perfect fit. After adding the etchmask strips to the bottle, I filled it with water to keep it from floating out of the etching liquid. It actually took all of the etching liquid to etch this bottle, after 15 minutes, I removed the glass bottle and rinsed it off, the etching liquid went back in the etching container, this product can be used over and over again.

Here you see the glass bottle is filled with water, then it was placed inside the plastic container, let it etch for 15 minutes (per instructions).


Once you remove your glass bottle from the etching liquid, you have to rinse it off under running water, empty the water out and dry it. It was so much fun removing the etchmask strips from the bottle, loved how it looked, now it's time to add some color to all the areas that weren't etched, these are supposed to represent trees as if they were in a forest.

Here you have the etched glass bottle that will become the base for my spring inspired lamp.

I used glass paints from Martha Stewart and from Pēbēo to make the trees stand out, you can see below, some are brown and some are green, at the bottom of the glass I added some green glass paint to represent grass. I had thought about adding some more flowers at the bottom of the glass using stencils, but instead I took out some more Prima flowers, trimmed them to fit my bottle and hot glued them, I love butterflied so I just had to add one to my bottle.
I know you can't see the top of the glass bottle once you add the shade, but I just had to decorate it, this way if I decide to change the look of my lamp later on, I can still use this pretty glass bottle as a vase, so I hot glued a pretty piece of fabric ribbon, wrapped it around the top of the bottle and added one more flower to finish it up.
Here are two close-ups of the bottom of the glass bottle.


Here you have the finished bottle, all decorated ready for the lamp shade.

 |
| Top of the bottle |
 |
| close-up of bottom |
 |
| Can you see the frosted glass, how pretty, love how the painted areas look against the etched glass |
 |
| The new look of my recycled glass bottle |
I turned off the lights in the house to see how it looked and just love it, the light comes through the shade, so glad I used glass paints on the shade the transparency of the paints allows for the light to come right through.

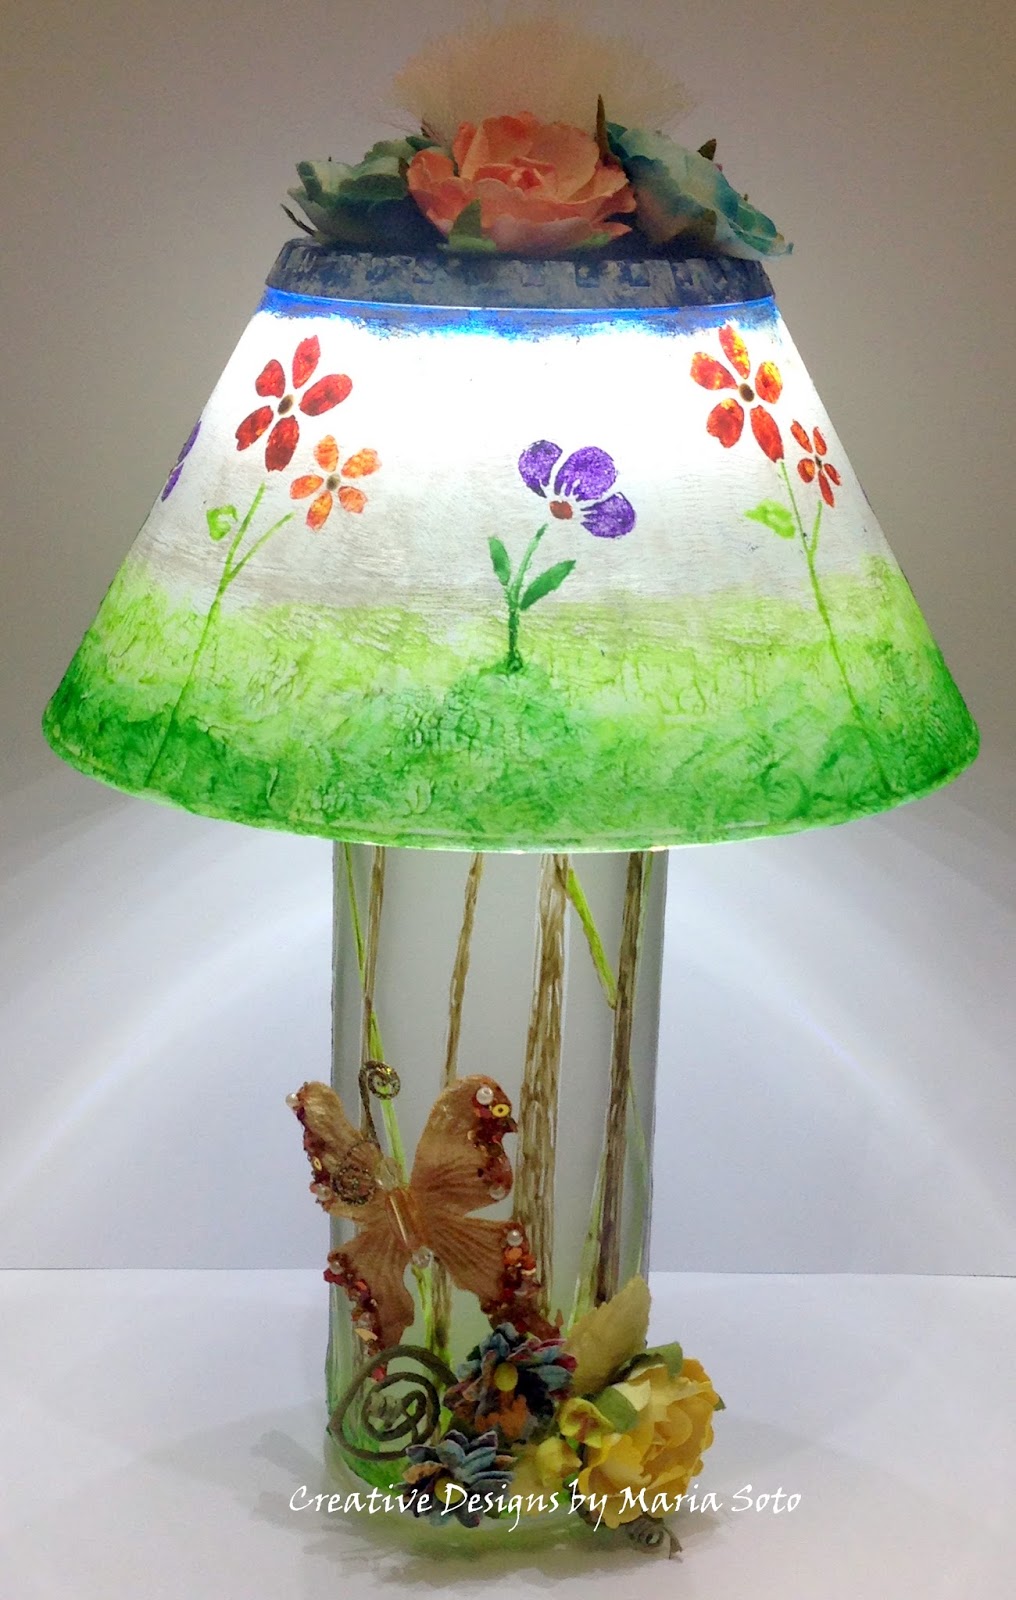

This pretty lamp sitting outside my front porch on a cloudy and cold morning, hoping mother nature lets us enjoy the beauty of Spring soon. Until then this pretty lamp will make me smile every time I see it, reminding me that soon, we'll have pretty flowers everywhere.

Etchall Products used:
etchall® lighten-up Kit
Etchall® dip'n etch liquid
Etchall® etchmask
Other products used:
Recycled glass bottle
Recycled plastic container
Prima flowers and butterfly
Pēbēo Vitral glass paints
Martha Stewart Crafts® Glass Paints
Martha Stewart Adhesive Stencils 2-sheet/pk- Blossoms
Fabric ribbon
AdTech hot glue and glue gun
Westcott paper trimmer
This DIY Spring Inspired Lamp was created for and sponsored by Etchall

Comments
Post a Comment